Eclipse
From Informatics
Contents |
JDK
By default, eclipse points to a jre. Download the version of the jdk you want and tell eclipse to use this by doing the following:
- Window->Preferences->Java->Installed JREs->Add
- Add the downloaded JDK
- Make sure this is the only selected JDK
Windows
Installation
- Download eclipse from here. Choose Java, JEE, or Classic version. JEE covers everything in the other two versions, but is larger in download and installation size.
- Unpack the archive on your computer. I typically set it up in C:\java\apps\eclipse.
- cd into this eclipse directory. Create a shortcut of eclipse.exe on your desktop.
- Give eclipse more memory by right-clicking on this desktop icon, selecting _Properties_, and adding -vmargs -Xmx512M to the _Target_ text box. This should look something like:
C:\java\apps\eclipse\eclipse.exe -clean -data c:\java\apps\eclipse_workspace -clean -vmargs -Xms128M -Xmx900M -XX:PermSize=64M -XX:MaxPermSize=128M
- install a subversion plug-in. The commonly used subversion plugins include subclipse (http://subclipse.tigris.org/) and subversive (http://www.eclipse.org/subversive/documentation/index.php).
- When you launch eclipse, it will ask you if you want to use the default workspace (located in $ECLIPSE_HOME), or a different workspace. I prefer to use a work outside of my eclipse home directory because if my version of eclipse is ever corrupted, I will not lose my workspace setting. I have my eclipse workspace in C:\java\apps\workspace.
Run Configuration
Enable Assertions
- If you are using assertions in your code, you must set the virtual machine argument -ea in your Run configuration. That is, under
Run->Run->Arguments->VM Arguments add -ea.
Creating A New Project
- File->New->Project->Java Project.
- Give the project a name.
- Create a package and class
If the new project is a geworkbench component, make sure you add geworkbench-core as a dependent project and set the output dir to your-project/classes (ie. medusa/classes). See Geworkbench Eclipse Setup for more details.
Sharing A Project
- right click on the project in eclipse
- select Team->Share Project
- select SVN
- create or use an existing repository location
- specify a module name
Checking out a Branch
- Checkout as discussed in Geworkbench Eclipse Setup but instead of checking out from the head, click on Configure Tags in the Check Out As dialog. Select all files (Ctrl-A) to see which tags are available, and select the tag to add. Click Add Checked Tags. Checkout that branch.
- If you have been working on the HEAD and would like to add your _commits_ to an active branch (an unlikely event, but it does happen), checkout the branch, compare (right click on this project and select Compare To) to the head, and Override and Update the files that you don't have (or files that have changed). This will bring the changes from the head to your local copy of the branch. Then synchronize your local copy of the branch with the branch in repository and commit these new additions.
Create a Branch
Note: The directions below pertain to eclipse projects in general. For specifics on branching in geworkbench, see Geworkbench Eclipse Setup.
Creating Your Branch
- Right click on the project --> Team --> Branch...

- Enter branch name, make sure "Start working in branch" is checked, and click "OK"

- This should create the branch you designated and switch you to it.

Verifying that You have Created the Branch You Want
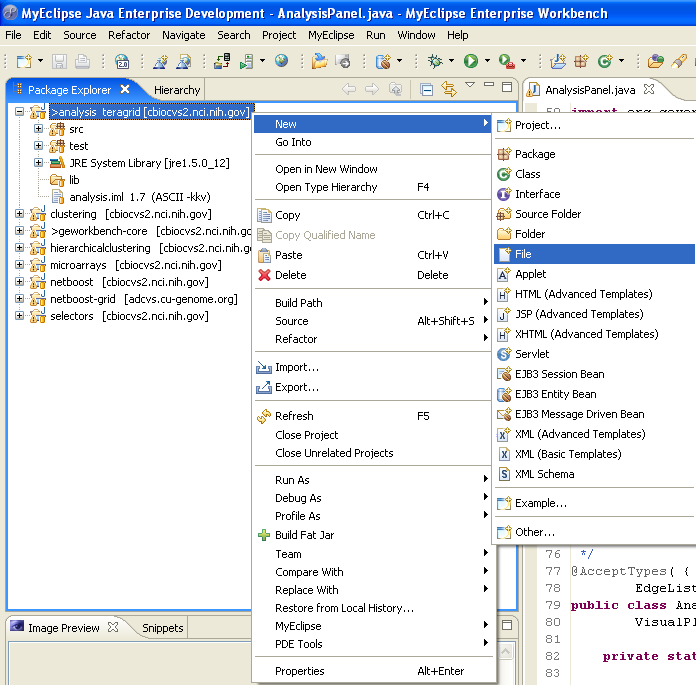
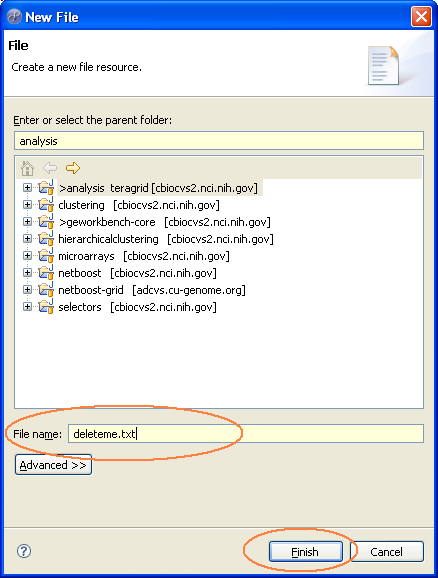
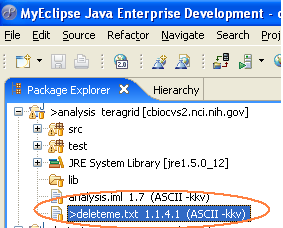
- Create a file call deleteme.txt directly in your project. (Right click on your project --> New --> File --> Enter File Name --> Click "Finish")
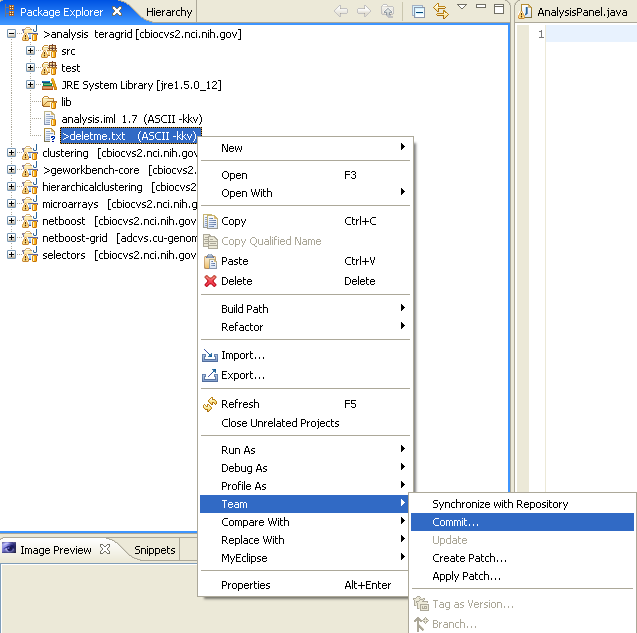
- Commit deleteme.txt (Right click on deleteme.txt --> Team --> Commit... --> Enter commet Delete me! --> Click "Finish")

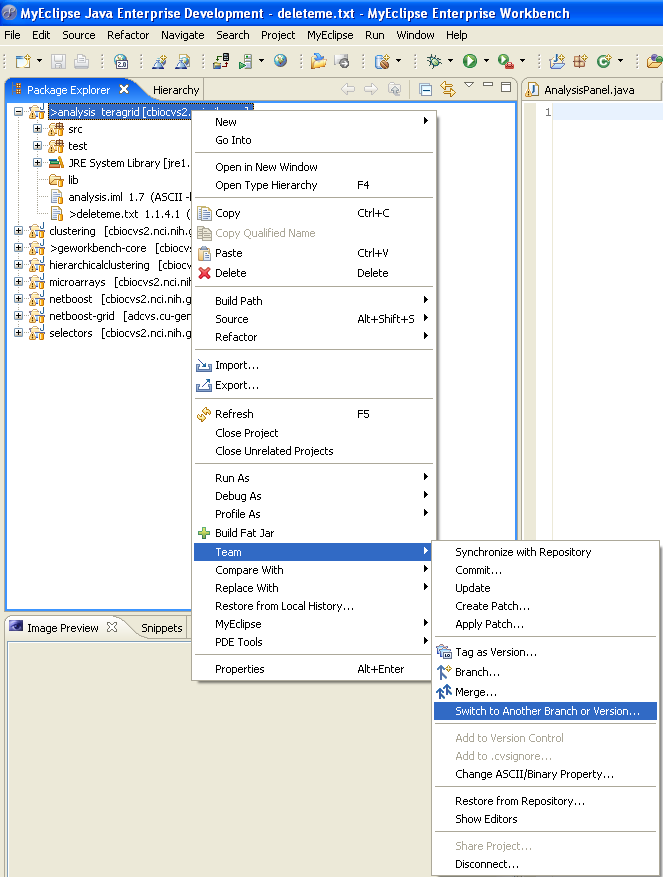
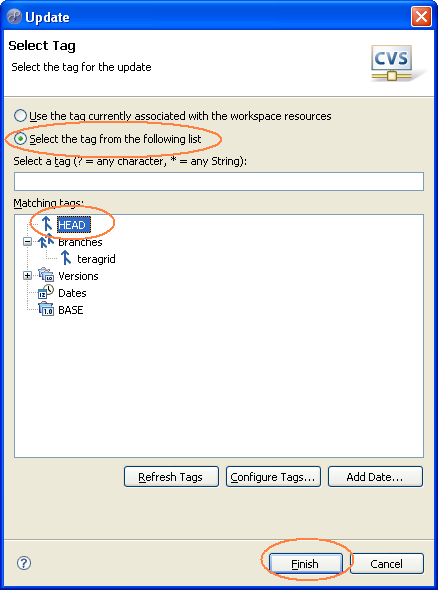
- Switch branch back to head. (Right click on your project --> Team --> Switch to Another Branch or Version... --> Select tag from the following list --> click "HEAD" --> click "Finish")
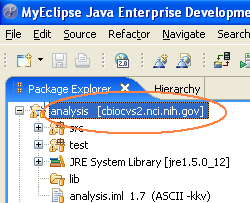
deleteme.txt should NOT show up in your project.
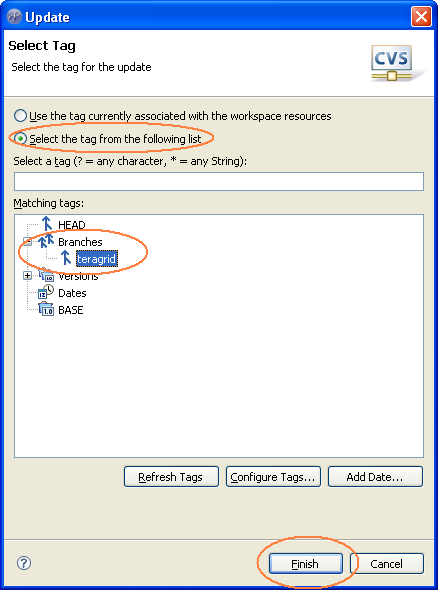
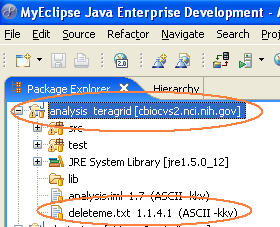
- Switch branch back to the one you just created. (Right click on your project --> Team --> Switch to Another Branch or Version... --> Select tag from the following list --> open "Branches" --> click on your branch --> click "Finish")
deleteme.txt should show up again.
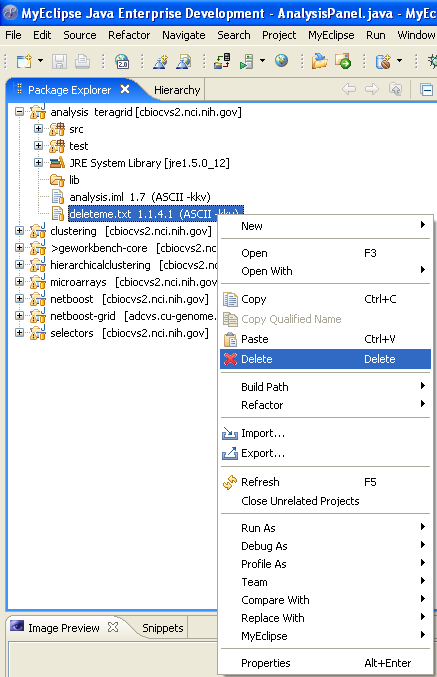
- Delete deleteme.txt from your project. (Right click on deleteme.txt --> delete)


Install MyEclipse
See MyEclipse.
Import Code Styles and Templates
- This can be found here.
Tomcat in Eclipse
- Use the MyEclipse plugin suite to run tomcat from within eclipse.
- An alternative, free, but inferior plugin can be found here.
Mac
Same as Windows. Be careful of paths.
(more detailed instructions to come)
Useful tips
NullPointerException does not have stack trace following
Passing the option -XX:-OmitStackTraceInFastThrow to the JVM may solve the problem. See this link [1]
Show Annotations (Who Modified the Line)
To quickly see who was the last person who modified a specific line of a file, use the Eclipse Annotation feature.
Right click on the file, select Team -> Show Annotation.
You'll see on the left of the code a color area shown. When you mouse over this area, it will tell you who was the last to modify the line.

Error messages and solutions
Error #1
When:
When try to entering debug mode
Error message:
 Unable to install breakpoint in
 org.geworkbench.youpackage.yourcode$$EnhancerByCGLIB$$$46ce2994 due to
 missing line number attributes.  Modify compiler options to generate line
 number attributes.
 Reason:
 Absent Line Number Information
Reason/Solution:
 it probably caused by CGLIB in eclipse, just check "don't show this message again" or skip that error message window (but don't press too fast and accidentally skip the last one which ask you about the perspective).
 it will then as you if you want to switch to debug perspective, select YES, then everything should goes fine and break at the breakpoint you toggled.
Error #2
When:
While debuging in eclipse.
Error message:
 Source not found.
 Edit Source Lookup Path
Reason/Solution:
 Click "Edit Source Lookup Path", Click "Add...", "Java Project", "OK", "Select All", "OK"
 Now debug perspective should show your the sourcecode correctly.
Error #3
When:
While debuging in eclipse.
Error message/situation:
Can not toggle breakpoints. It only let you toggle on the breakpoint but don't let you toggle off. You can use "Run"-"remove all breakpoints" on the menu bar to remove all of them but not one of them.
Reason/Solution:
 step1: Change to Debug perspective.
 step2: open Debug view. (in eclipse's menu bar, click: Window-Show view-Breakpoints)
 step3: check/uncheck the breakpoints
 step4: Fixed. (Now you can toggle breakpoints on the left of each line as usuall.)
 PS: it's a weird situation, not sure if reproducible or not.
Error #4
When:
After add a new java project
Error message/situation:
the import org.geworkbench.bison cannot be resolved
Reason/Solution:
 step1: right click on the project, choose Properties.
 step2: click Java Build Path on your left, click tab Projects on your right.
 step3: click Add, choose geworkbench-core
Error #5
When:
 After add a new java project and create all required files (Java, Class, all.xml)
 When you run or debug the project you just created in eclipse.
Error message/situation:
Could not instantiate plugin: org.geworkbench.components.yourpackage.YourComponent
Reason/Solution:
There are several possibilities, but here's one: By default, eclipse compile java classes into yourprojectname/bin folder. You need to change it to yourprojectname/classes folder.
  step1: right click on the project, choose Properties.
  step2: click Java Build Path on your left, click tab Source on your right.
  step3: at the bottom, change the "Default output folder" to yourprojectname/classes