CaGrid 1.0-final
From Informatics
See: caBIG caGrid Wiki, caGrid 1.0-beta.
Contents |
Infrastructure Installer
This section describes the steps necessary to download, install, build, and run caGrid.
Prerequisites
You should have either prior knowledge of installing Java 5 or have Java 5 pre-installed on the user’s target machine. (To determine if Java 5 exists on the target machine, search for a Java folder having a JRE subdirectory (e.g., jre1.5.0_12). In order to build and run caGrid you must have the Java SDK installed and the environment variable JAVA_HOME set to the directory in which it is installed.
Target Machine Cleanup
Remove or delete the .gridenv.properties file from the user home directory if it is present. (For example, in Windows XP this directory is C:\Documents and Settings\<username>)
Download the Installer
1. Download the caGrid 1.0 Infrastructure Installer, named caGrid-1.0_Installer.jar from the caGrid 1.0 file release section:
2. To download, right click on the file and Select the ‘Save Target As…’ option.
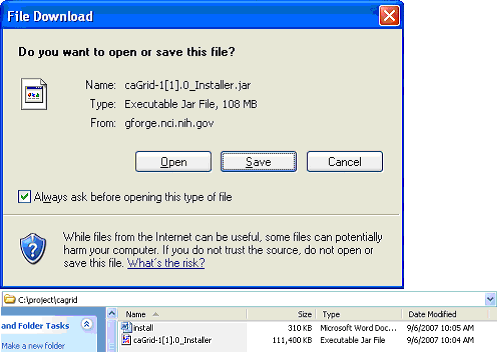
3. The File Download window will display and then the Save As window will display with a File name. If the file name ends with .zip rename the file extension to .jar.
4. Select a directory to download the installer to in the Save As window and click on the Save button to save the file to your target machine directory.
5. The download will take a few minutes to complete downloading the 108 MB file. How long is dependent on the target machine’s Internet environment. Please be patient.
6. To verify the file downloaded successfully, navigate to your target directory and look for the file.
Launch the Installer
NOTE: Even though there are four subsections under the "Launch the Installer" heading, they should be done in one sitting and in order.
From your target directory, double-click the caGrid-1.0_Installer.jar executable jar file to launch the installer.
Wait a few seconds for the installer to start. If it does not start within a minute
using this method, then start it from the command line. There will be no visible
acknowledgement that the executable is running until the caGrid 1.0
Acknowledgements splash screen displays.
To execute from the command line on a MS-Windows operating system:
1. Select START from the MS-Windows task bar.
2. Select Run option.
3. Type ‘cmd’ in the Run text box, and click on the OK button to initiate the command line prompt.
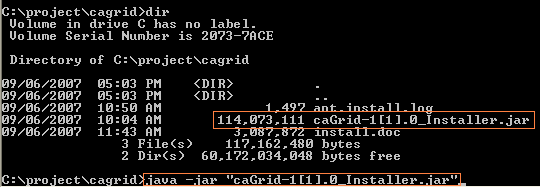
4. In the Windows cmd window, change the default directory to point to the target directory in which you downloaded the caGrid-1.0_Installer.jar file.
5. Type java –jar caGrid-1.0_Installer.jar on the command line.
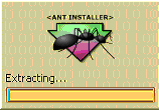
When the caGrid 1.0 main splash screen displays, the executable will begin file
extraction automatically.
When the extraction is complete, the caGrid 1.0 Infrastructure Installation screen will display. Use the Back and Next buttons to navigate through the installation process. Installation will be a one- or two-step process depending on the items you select to be installed.
Follow the prompts on each window to complete the installation process.
Main Installation
Click "Next>>" to start the installation process: (For the interest of wiki space, the top caption and the bottom buttons, "Cancel", "<<Back", "Next>>", and "Install", are not always shown in our illustrations.)
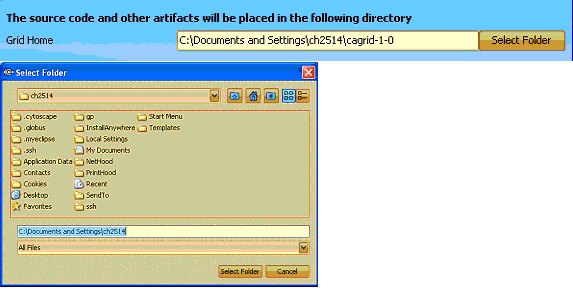
Select the base directory for CaGrid and click "Next>>" to start the system check process.
Click "Next>>" to continue.
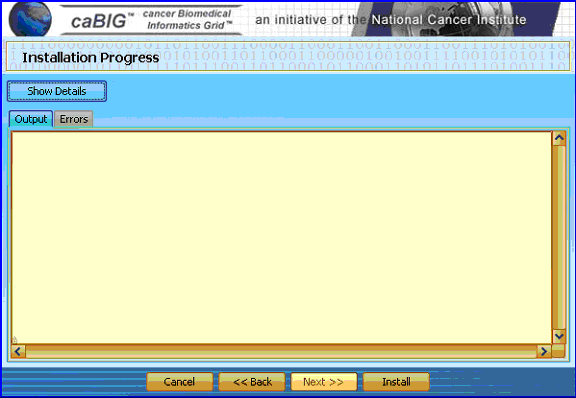
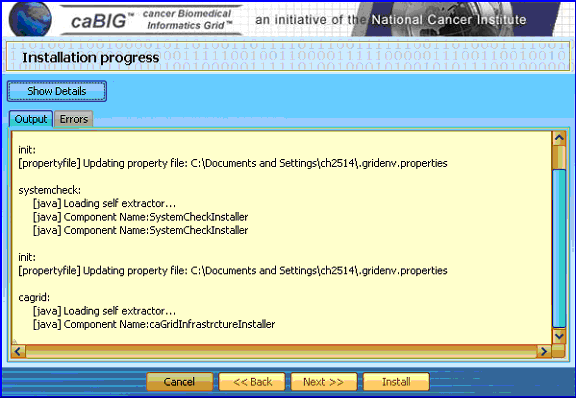
Click "Show Details" to monitor installation progress.
Click "Install" to start the installation process.
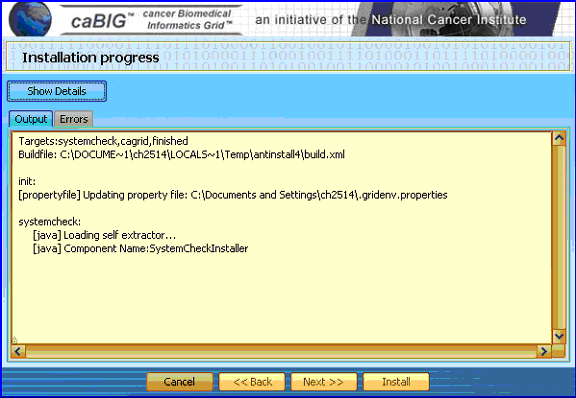
The "Output" tab details the installation progress. The "Errors" tab specifies errors encountered during installation, if any.
System Software Installation
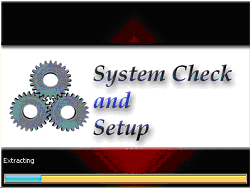
A systems check splash screen will appear and create a separate process for installing system software CaGrid uses.
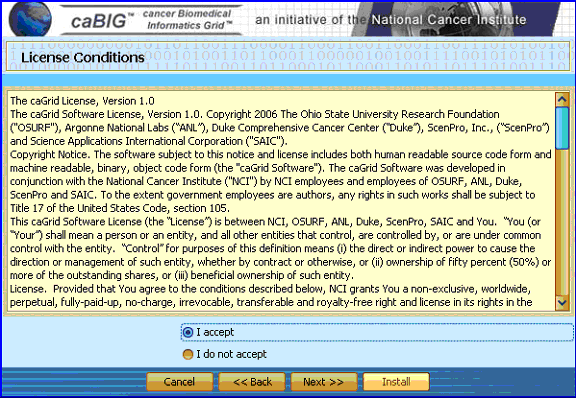
Click "Next>>" to go on to the licensing agreement.
Click on "I accept" and then "Next>>" to continue.
The install wizard will continue to display information and prompt you through the process.
Just click "Next>>" as you're satisfied with the information given and/or your selections.
We recommend the following settings:
If you are prompted for Tomcat and Globus directory locations, we recommend:
Like always, click "Next>>" to continue.
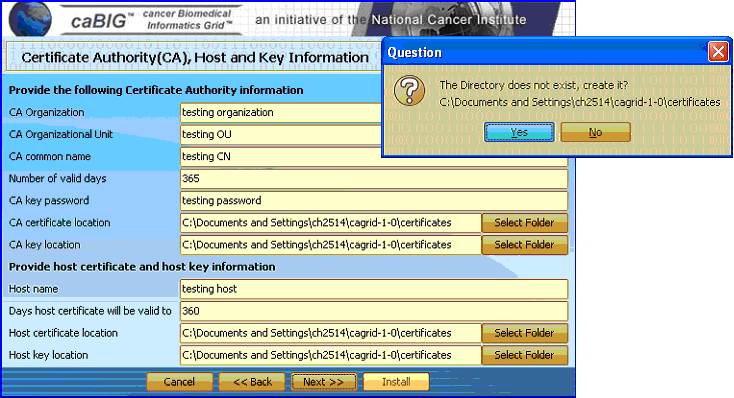
Click "Yes" if your specified directories don't already exist and you wish to create them.
ALSO NOTE: Regardless of the directory you tell the installer to use, the installer may use a temporary directory while processing.
Click "Next>>" to bring up the installation progress screen.
Click "Show Details" if you wish to monitor installation progress.
Click "Install" to initiate system installation.
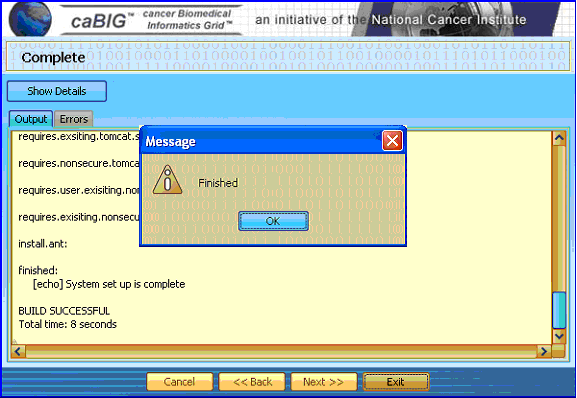
When the system installation finishes, it would display the following:
Click "OK" and then click "Exit" to complete the system installation and return to CaGrid main installation.
Property Installation
Your task bar should still show two CaGrid processes: the first is the main installer progress monitor screen, and the second is the CaGrid property installation screen.
Click on "Next>>" to bring up the other license agreement screen. Click on "I accept" and "Next>>" to continue. You will be asked to select home directories for CaGrid, Tomcat, and Globus:
Click on "Next>>" buttons until you reach the installation progress screen again.
Click "Show Details" if you wish, and click "Install".
When the installation is finished, you will see the "Finished" message dialog again.
Click "OK" and then click "Exit" to finish installing CaGrid properties.
Back to Main
Now, you should have only one CaGrid process in your task bar:
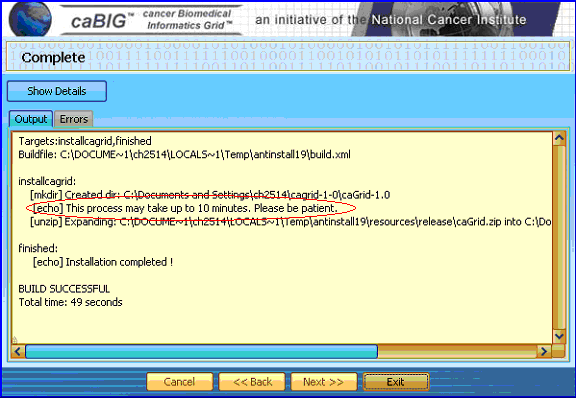
Just allow the remaining installer to complete its run.
The "Finished" message dialog will alert you when the procedure is done.
Again, click "OK" and the click "Exit".
You have now finished installing the CaGrid component.
Please follow the post installation procedure (below) to bring up and run the component
Post Installation steps
The installer will install the caGrid prerequisites, and unzip a caGrid source release in the directory you selected for your “grid home.” Before you can use caGrid, you need to set the relevant environment variables, and build the caGrid source release.
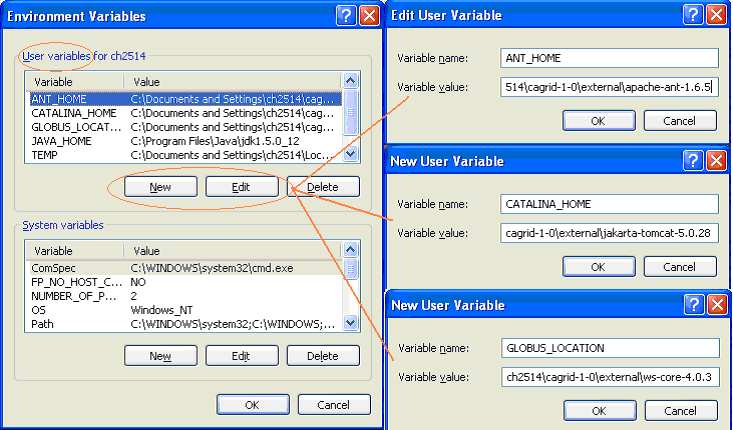
1. Set the following environment variables (examples are shown in the gray boxes):
ANT_HOME = <the directory you selected for ant>
C:\Documents and Settings\<username>\cagrid-1-0\external\apache-ant-1.6.5

CATALINA_HOME= <the directory you selected for tomcat>
C:\Documents and Settings\<username>\cagrid-1-0\external\jakarta-tomcat-5.0.28

GLOBUS_LOCATION= <the directory you selected for Globus>
C:\Documents and Settings\<username>\cagrid-1-0\external\ws-core-4.0.3
2. Open a command line and change directories to the “caGrid” directory in the location in which you installed caGrid.
cd C:\Documents and Settings\<username>\cagrid-1-0\caGrid-1.0\caGrid
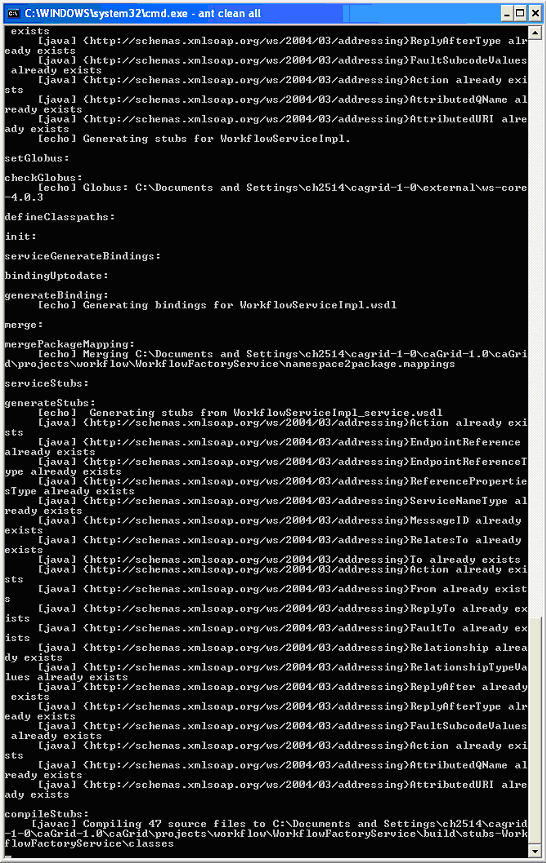
3. Type “ant clean all” (this only needs to be done once, and will build caGrid)
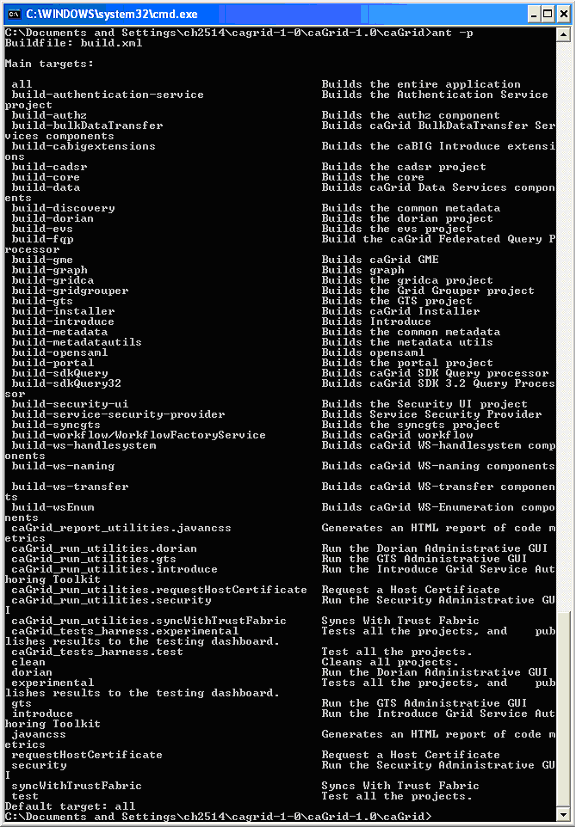
4. caGrid is now built and its tools can be used; consult the caGrid documentation for additional details. You may also type “ant –p” for a short list of available caGrid tools and commands.
Uninstall Procedure
If you have CaGrid 1.0 up and running, try NOT to REINSTALL
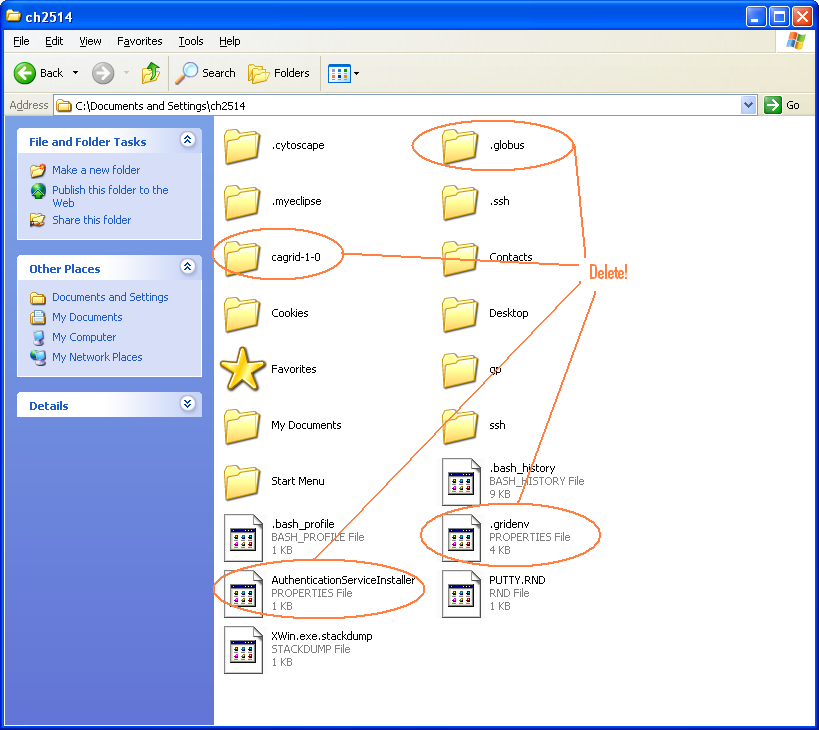
1. Delete your "cagrid" home directory.
2. Delete the "AuthenticationServiceInstaller" and ".gridenv" files and the ".globus" directory from "C:\Documents and Settings\<user>"
Known Issues
1. Scenario: User has Certificate Authority in place and wants to create host certificate and key using existing CA
What is required to do: The root CA has to be copied to
${user.home}/.globus/certificates directory with a digit extension manually
2. Scenario: User has existing host certificate and host key and uses these credentials to configure the container
What is required to do: The user has to copy the signing CA certificate to
${user.home}/.globus/certificates directory with digit extension
3. Scenario: User wants to configure the existing Tomcat container using installer and Globus already has been deployed non-securely on Tomcat.
What will happen: In this case, the deployed services may not work properly.
Certain jar files may be copied to more than one place leading to some exceptions
at run time
4. Scenario: User is running installer behind corporate firewall. What will happen: If prerequisites are requested to be installed by the installer, it needs to access the Internet, and will fail if proxy settings are needed.
5. Scenario: During the execution of the installer, multiple windows are opened. What will happen: On some operating systems, new windows may appear, behind existing windows. If the installer appears frozen, make sure a window is not requesting input.
Errors
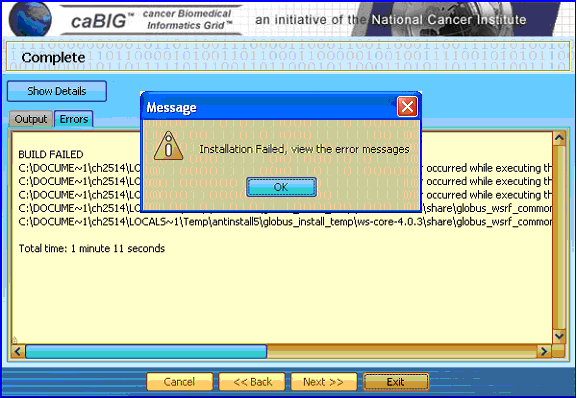
If you encounter errors while navigating the installation wizards, you will get the following display:
Click "OK" and then click "Exit" to stop the specific installation process.
ALSO NOTE: If the error occurred during a systems installation, exit the system installer and 'also cancel the CaGrid installer' by clicking "Cancel" and then click "Exit".
Workflows
- We are attempting to use the BPEL workflow engine in the WorkflowFactoryService.
- This is just a regular caGrid service, so you can either deploy it locally or use the one hosted at
https://cagrid-workflow.nci.nih.gov:8443/wsrf/services/cagrid/WorkflowFactoryService
- If you get an Authentication error stating something to the effect of:
AxisFault
 faultCode: {http://schemas.xmlsoap.org/soap/envelope/}Server.userException
 faultSubcode:
 faultString: org.globus.common.ChainedIOException: Authentication failed [Caused by: Failure unspecified at GSS-API level [Caused by: Unknown CA]]
 faultActor:
 faultNode:
 faultDetail: {http://xml.apache.org/axis/}stackTrace:Authentication failed. Caused by Failure unspecified at GSS-API level. Caused by COM.claymoresystems.ptls.SSLThrewAlertException: Unknown CA
at COM.claymoresystems.ptls.SSLConn.alert(SSLConn.java:235) at COM.claymoresystems.ptls.SSLHandshake.recvCertificate(SSLHandshake.java:304)
you must "synchronize with the caGrid trust fabric". To do this, go to %CAGRID_LOCATION% (C:\java\apps\cagrid-1-0\caGrid-1.0\caGrid) and run ant syncWithTrustFabric.


