User talk:Ginhoven
Getting Started
This tutorial is written with the assumption that you have successfully completed the installation instructions. If you haven't installed the entire program, please go to Download and follow the installation instructions.
In this tutorial you will learn how to:
- Start the application.
- The GUI Elements of the System.
Starting the Application
1. Once you have downloaded the application click on caWorkbench and the program will load and open.
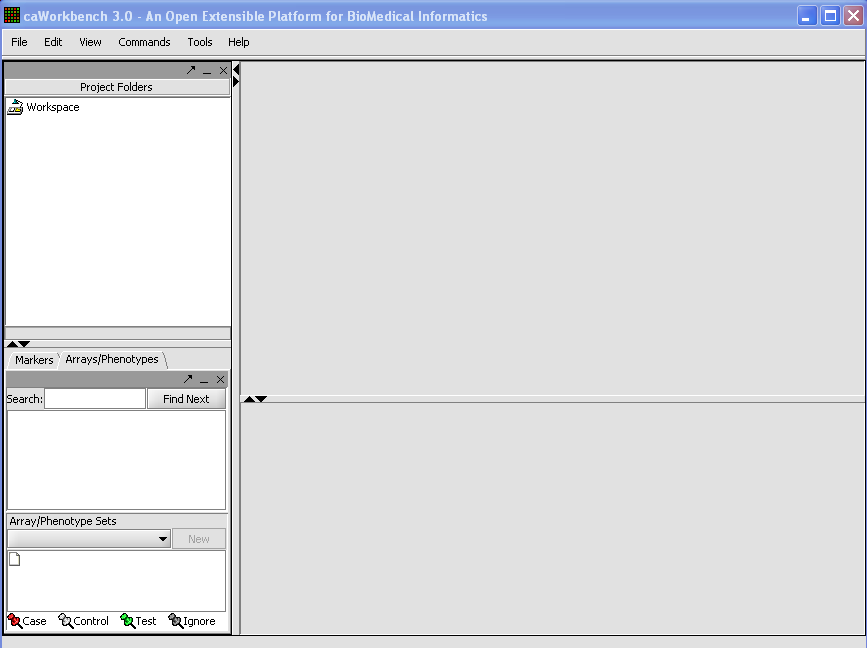
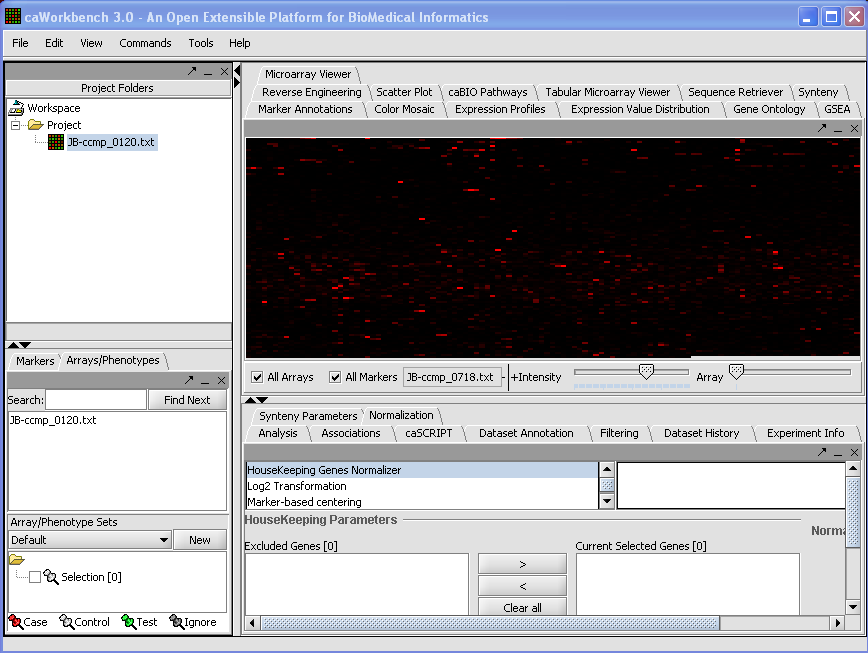
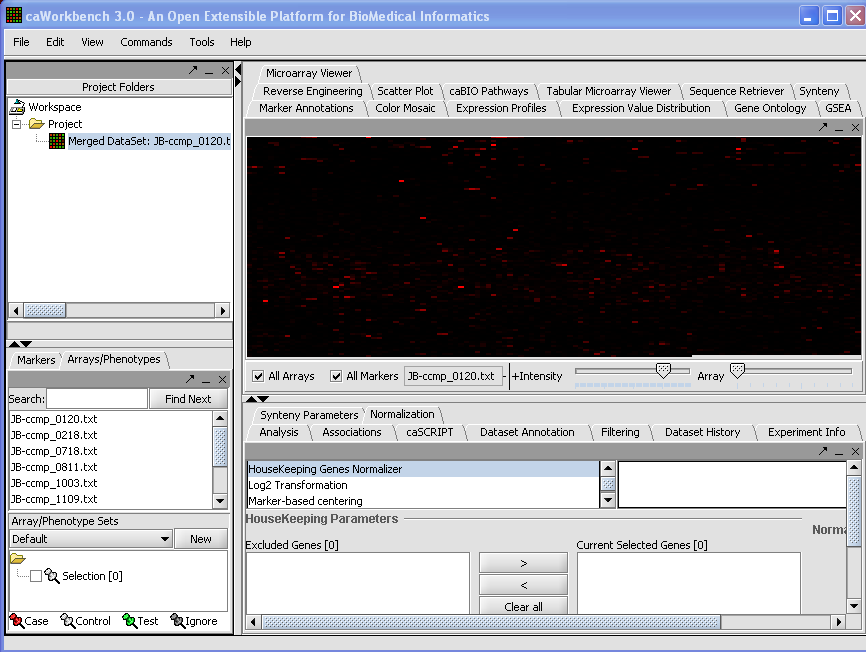
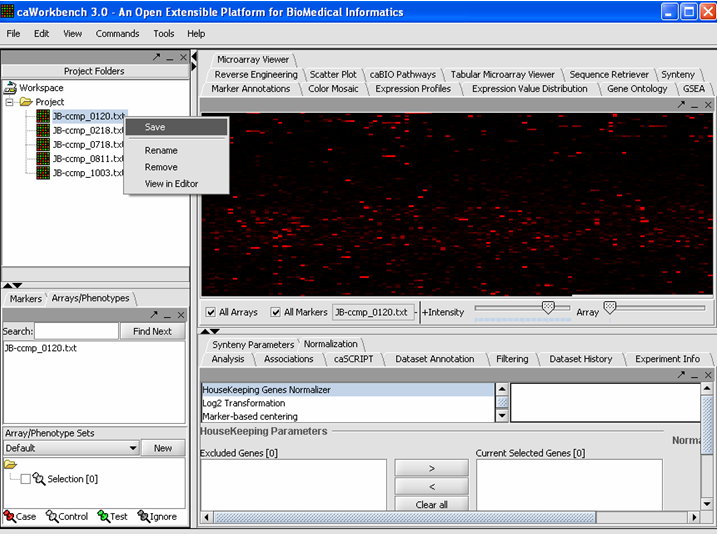
When you first open the program this is what you see:
In order for data to appear you need to load your experiment(s)See Loading Data Tutorial.
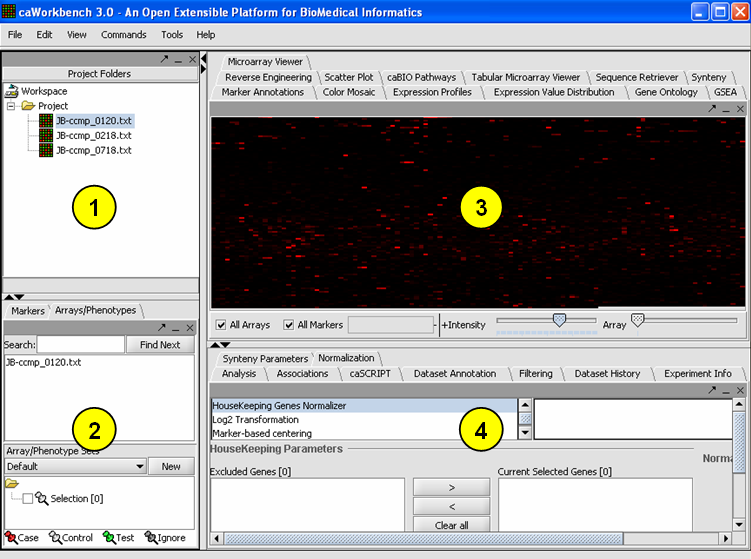
Overview of the GUI and Component Interoperability The graphical user interface for geWorkbench is divided into four major sections
1. Project Area - Data management
2. Selection Area - Marker and Phenotype management
3. View Area - Visualization tools (primarily)
4. Analysis Area - Analytical tools
The data managment area (1) is called the Project Area. It can hold one workspace, and a workspace in turn can hold one or more projects. Projects can be used as wished to group different data sets. Any data file or analysis result is stored in a project. A workspace and all the data it contains can be saved and returned to later.
The most important design goal of geWorkbench is to allow data produced or altered in one module to be easily transfered to other modules for successive analysis steps. There are two places that hold shared data - the Project Area (1), and the Selection Area(2). While the Project Area holds files and various types of analysis result sets, the Selection Area groups markers or phenotypes into panels. These panels can then be selected for further analysis of only that particular subset of data. For example, several analysis components produce lists of markers, and each such new list is placed into the markers component as a new marker panel. An example of using a phenotype panel is to group microarrays by their disease state. In a series of tutorials below, we will demonstrate how a panel of markers is defined through selecting a cluster in the Hierarchical Clustering component, and this panel of markers is then passed to the Sequence Retrieval component to begin sequence analysis.
A key feature of the GUI is that the modules displayed in the View Area(3) and Analysis Area(4) areas depend on the type of data currently selected in the Project Panel. Thus you will see a different set of choices (tabs) when a microarray data set is selected, as compared to when a DNA or protein sequence file is selected. When a new data file is loaded, or an analysis produces a new data set, not only is it added to the Project Panel, but an appropriate viewer in the Visualization area is automatically selected.
The GUI provides a menu bar at top with a standard choice of commands. Many commands that are available in the menu bar are also available by right-clicking on data objects.
Loading Data
In this tutorial, you will learn how to:
- Create a New Project.
- Merge Data from several Loaded Microarray Experiments.
- Rename a Project and/or Project Node.
- Remove a Project and/or Project Node.
- Save Project files that you have created.
- Load, Add, and/or Modify Remote Data.
Before you can continue, geworkbench should be running. For help with this, please refer to the Getting Started (insertlink) section. The file cardiomyopathy.exp should be used in this tutorial.
There are different types of Array files that you can use when loading data
- Affy Excel or txt data file. brief explanation of file type needed
- Affymetrix MAS5/GCOS Files.This one will be used for the tutorial. brief explanation of file type needed
- Affymetrix File Matrix. brief explanation of file type needed
- RMA Express Processed File. brief explanation of file type needed
- Genepix Files. brief explanation of file type needed
- Genotypic data Files. brief explanation of file type needed
- Fasta Files. brief explanation of file type needed
- Pattern Files. brief explanation of file type needed
- Normalized no-confidence expression matrix. brief explanation of file type needed
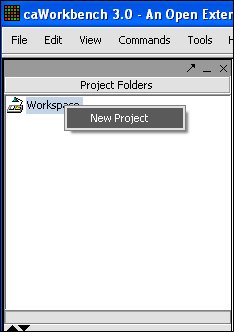
1. To create a New Project right mouse click on workspace.
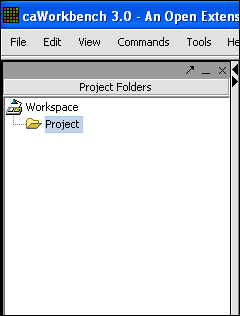
2. Left mouse click on Project.
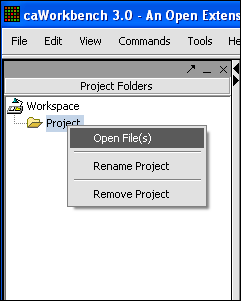
3. Project folder will open, right mouse click on Project folder, left mouse click on open files.
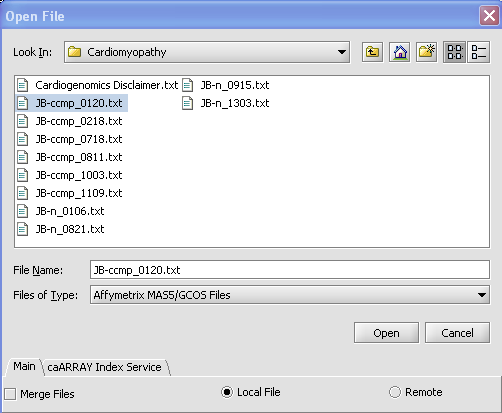
4. Find the type of file that you want to work with. In this case it will be Affymetrix MAS5/GCOS Files.
5. Find the file that you want to work with and select.
6. Make sure Local radial button is selected.
7. Click on the Open button.
Your File is now loaded:
You Can Merge Data From Several Loaded Microarray Experiments Into One Project Folder
Different Microarray files can be merged so that they can be viewed and analyzed together. As long as files are of the same type you can merge them into one project node. You can do this during the original loading process, or after you have already loaded a file.
To Merge Data From The Original Loading Process
1. Right mouse click on the Project folder.
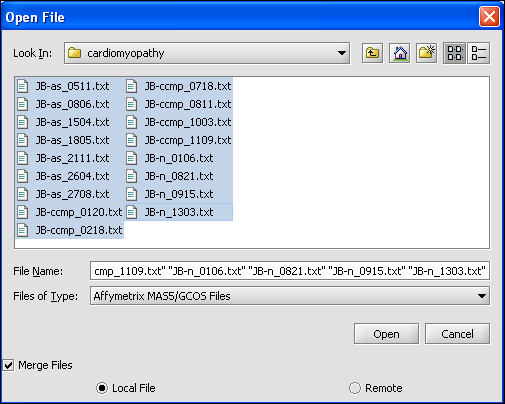
2. Select the files that you want to Merge.
3. Select the Merge Files box.
4. Left mouse click on the Open button.
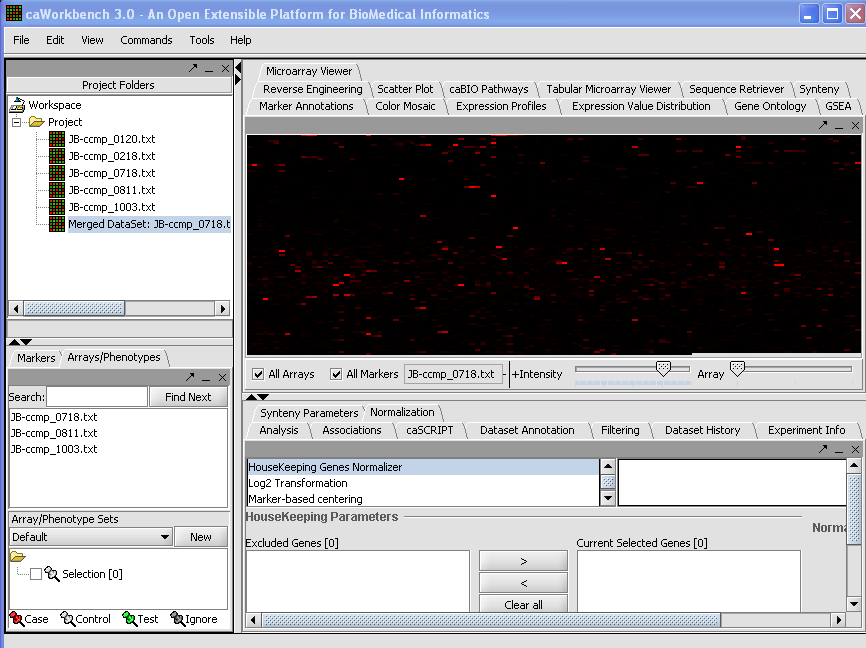
Your File Nodes will now be Merged into one Project folder.
To Merge Data From Experiments Already Loaded
1. Select the Project Nodes that you want to Merge.
2. Left click on file, choose Merge Datasets.
You Can Rename a Project and/or a Project Node
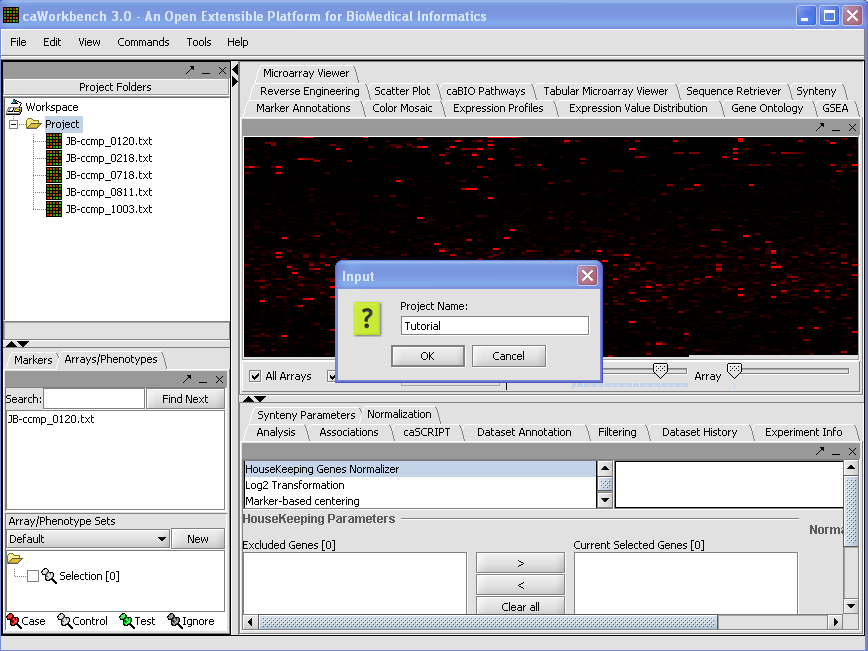
Renaming A Project
1. Right mouse click on Project folder.
2. Select Rename.
3. In Pop-up Screen Rename your Project.
4. Click on the Okay button
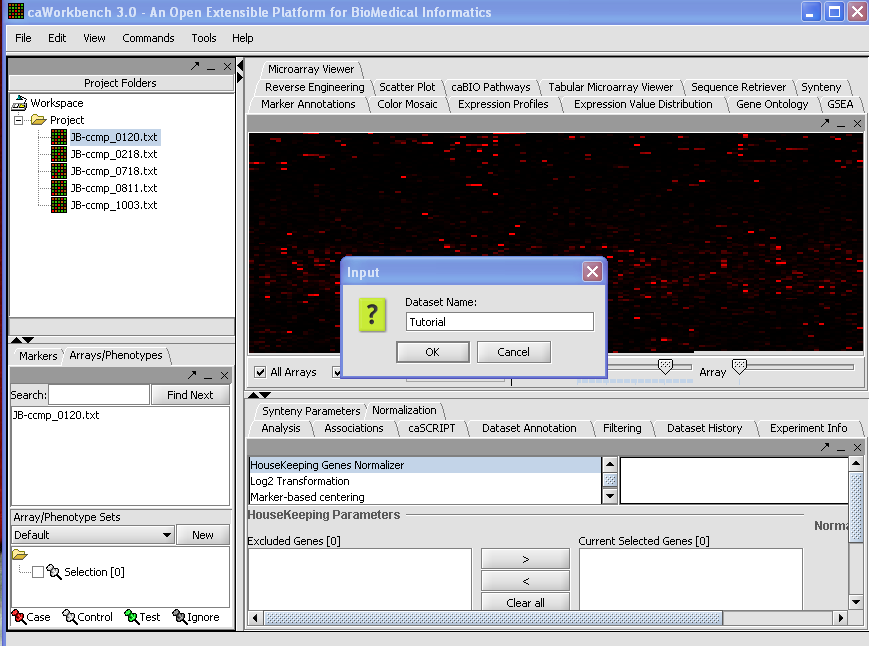
Renaming a Project Node
1. Right mouse click on Project Node.
2. Select Rename.
3. In Pop-up Screen Rename your Project Node.
4. Click on the Okay button.
You Can Remove a Project and/or a Project Node
Removing A Project
1. Right mouse click on Project folder.
2. Select Remove.
3. You will no longer see the Project folder.
Removing a Project Node
1. Right mouse click on Project Node.
2. Select Remove Project.
3. You will no longer see the Project Node.
Saving a File 'Node'
1. Right mouse click on File(s) 'Node(s)' that you want to save.
2. Click on the Save.
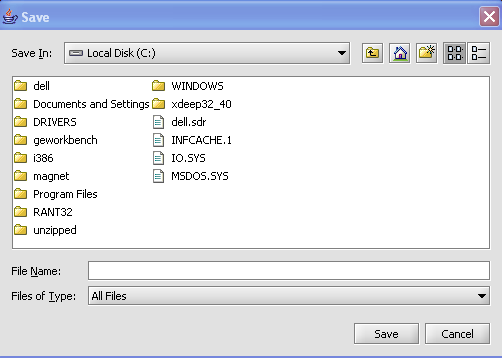
The Save Screen will come up.
3. Choose a location.
4. Name your File(s) 'Node(s)'
5. Click on the Save button
Load, Add, and/or Modify Remote Data
There will be times that you may need data from a Remote Location, with this program you are able to load, add, and/or modify that data.
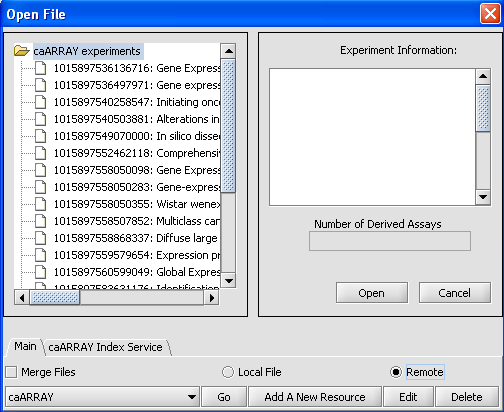
When the File Screen comes up click on the Remote Radial button and you will see this screen. The Open File Dialog Window is updated so that you can work with your Remote Sources.
The four buttons on the bottom of this screen are what you will be working with
Basic Usage
caArray button - Gives you a listing of your Remote Resources.
Go button - Accesses the Remote Source that you selected.
Add A New Resource button - Opens the Data Source Definition Page used to add Remote Data.
Edit button - Edits Remote Source Parameters.
To Add A Remote Source
1. Click on the Add A New Resource button.
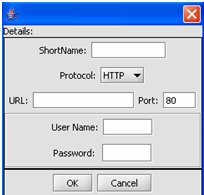 This is the Data Source Definition Page
2. Fill in the Data Source definition page. URL and Short Name are required fields.
3. Click on the OK button.
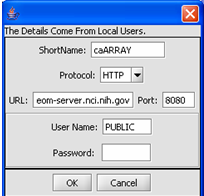
The configuration is set up to automatically reflect your additional Data Source.
To Modify A Remote Source
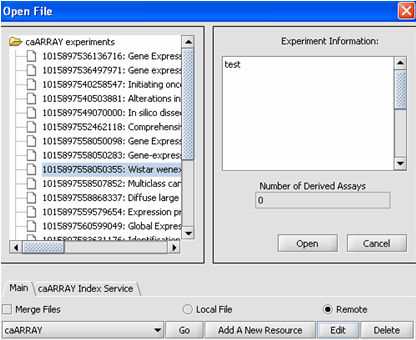
1. Select the File that you want to modify.
2. Click on the Edit button.
3. Make the changes that you need.
4. Click on the OK button
