Difference between revisions of "Menu Bar"
(→Introduction) |
m (→File) |
||
| Line 30: | Line 30: | ||
===File=== | ===File=== | ||
| − | The following choices are available | + | The following choices are available under the File menu. |
[[Image:Menu_Bar_File_Open.png]] | [[Image:Menu_Bar_File_Open.png]] | ||
Revision as of 17:57, 14 February 2011
Contents
Menu Bar
Introduction
The Menu Bar is located at the top of the geWorkbench graphical interface, and provides access to important actions, settings and information.
This section will briefly cover the individual menu items. Some items have their own more extensive documentation, and links to this will be provided.
The first two items in the menu, "File" and "Edit", apply to the Project Folders component, described in the next section.
Background on the Project Folders component
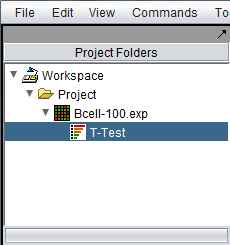
In brief, the Project Folders component is used for data organization and management. It contains four types of "nodes", arranged in a hierarchical fashion.
- Workspace - A workspace contains all the data for a geWorkbench session. Only one workspace can be present at a time. A workspace can be saved and reloaded. Workspaces are used to hold one or more projects.
- Project - A project is used to hold the data and the analysis results for a particular experiment. A workspace can contain more than one project, and one can easily switch between projects.
- Data nodes - These contain data either loaded from files on disk or retrieved from the network.
- Result nodes - After an analysis is done in geWorkbench, a result node is created as a child of the data node from which it was created.
The following diagram shows the Project Folders component with a single data node and its child t-test analysis result node.
Further details about the Project Folders component can be found in the Projects section.
File
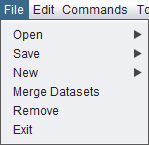
The following choices are available under the File menu.
Open
- File - Open a specific data file from disk. A Project node must be selected in the Project Folders component. A standard file browser will appear, and the user can select from any of the file types that geWorkbench can directly load. If no project node yet exists, one must be created before a data file can be loaded.
- Workspace - Open a previously saved geWorkbench workspace. It does not matter what is currently selected in the Project Folders component, as everything will be overwritten by the contents of the newly loaded workspace. A standard file browser will appear with which the desired workspace file can be located.
Save
- Workspace - Save the current geWorkbench workspace to a file on disk.
New
- Workspace - Create a new workspace in the Project Folders component.
- Project - Within a workspace, create a new project.
Export
- Export the microarray dataset currently selected in the Project Folders component in the "Affymetrix File Format" (.exp). This format preserves array sets that may have been defined. See the File_Formats#Affymetrix_File_Matrix_Format_.28geWorkbench.29 section for details of this format.
Merge Datasets
If more than one data file originating from the same platform has been loaded into a project, the datasets can be merged into one for analysis. See Local_Data_Files#Microrray_data_and_merging_datasets for further information.
Remove
This option will remove a project or a data node under the project from the Project Folders component. It will not remove a top-level workspace.
Exit
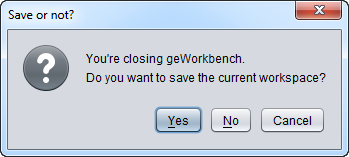
Close geWorkbench. The user will be prompted as to whether to save the workspace before closing.
Image Snapshot
Edit
View
Commands
Tools
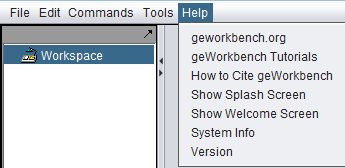
Help
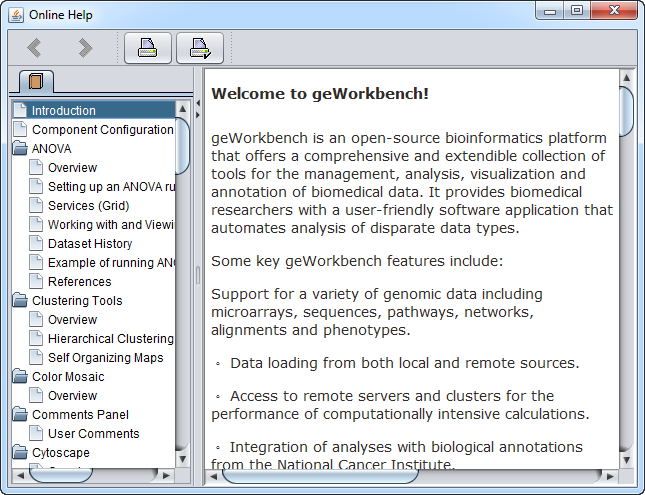
Help Topics
Links to external sites
geWorkbench.org
Knowledge Center
Release and System Information
About
Show Welcome Screen
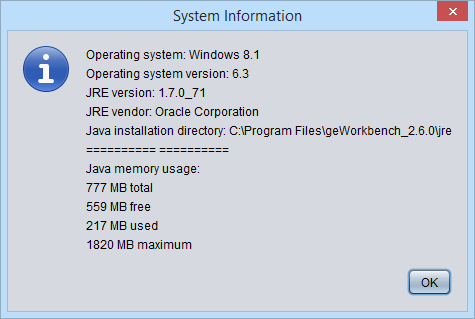
System Info
Version Info
