Workspace
Contents
- 1 Outline
- 2 Overview
- 3 Workspaces and Projects
- 4 Microrray data and merging
- 5 Supported data formats
- 6 Tutorial: Working with Projects
- 7 Tutorial: Loading microarray data files - local
- 8 Tutorial: Merging microarray data files after they have already been loaded.
- 9 Tutorial: Working with remote data sources
Outline
In this tutorial, you will learn how to:
- Create a new Project.
- Load microarray data.
- Merge data from several loaded microarray experiments.
- Download data from a remote instance of the caArray database (supported by NCI).
- Rename a project and/or project node.
- Remove a project and/or project node.
- Save project files that you have created.
- Load, add, and/or modify remote data.
Overview
This section covers three areas - (1) the logical organization of data within geWorkbench into projects and workspaces, (2)working with data files in this logical structure, and (3) special handling of microarray data files, including obtaining data from local and remote sources, and merging multiple data files into one. These topics are bundled into one because these various operations are all handled within the same Project Folders component.
Workspaces and Projects
In the Project Folders component there is a top-level object called a workspace. The workspace can contain one or more separate projects, and each project can contain opened data files and analysis results. An analogy might be that a workspace is like a drawer in a filing cabinet, and projects are individual folders in that drawer. Projects allow data to be grouped, for example by experiment. A project can contain many different types of data, for example microarray data, FASTA sequence files and graphical images. The workspace as a whole, with all its projects and data nodes, can be saved and restored. However, only one workspace can be open at one time.
Microrray data and merging
When working with microarray data, all data to be analyzed must be present within one data node in a project. If the data exists as multiple files containing results from single arrays, the data must be merged into a single node before it can be used. geWorkbench can perform this merging step either at the time data is read in, or later in a separate step. Once merged, such a dataset can be saved to disk; it will be saved in the geWorkbench matrix file format.
Supported data formats
- Microarray
- Affymetrix MAS5/GCOS files - produced by the Affymetrix data analysis programs.
- Affymetrix File Matrix - a spreadsheet-type multi-experiment format; this is the native file type created by geWorkbench from merged datasets.
- Tab-delimited text (RMAExpress file) - A simple columnar file format, as produced by the program RMAExpress.
- Genepix .GPR files - Produced by a popular analysis program for two-color microarrays.
- Affymetrix CEL files - these files of probe level data can be viewed graphically in geWorkbench but not used directly for analysis.
- Other
- FASTA files. DNA or amino-acid sequence files in FASTA format.
- PDB files - protein 3-dimensional structure files can be viewed in the JMol Viewer in geWorkbench.
- NetBoost Edge List - used by a component still under development.
Tutorial: Working with Projects
Creating a new project
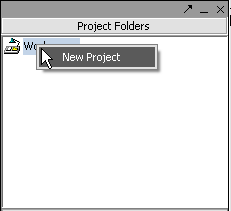
All data must belong to a project. Right-click on the Workspace entry in the Project Folders window at upper left to create a new project.
Renaming a project
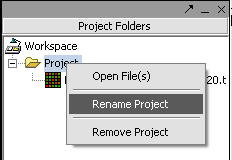
1. Right-click on Project folder.
2. Select Rename.
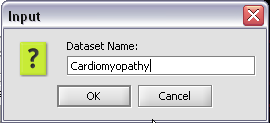
3. In the pop-up screen rename your project.
4. Click on the OK button
Renaming a project data node
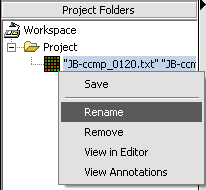
1. Right-click on a Project Folder data node.
2. Select Rename.
3. In the pop-up screen rename your data node.
4. Click on the OK button.
Removing a project
1. Right-click on Project folder.
2. Select Remove.
Removing a project data node
1. Right-click on the data node.
2. Select Remove.
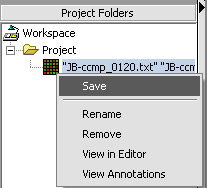
Saving a data node to a file
It is here that, among other things, you can create the matrix multi-experiment file format used by geWorkbench from a merged dataset.
1. Right-click on data node that you want to save.
2. Click Save.
A standard file Save screen will come up.
3. Choose a location.
4. Enter a name.
5. Click on the Save button.
Tutorial: Loading microarray data files - local
In this example, we will load 10 individual Affymetrix MAS5 format files, and merge them into a single dataset. The origin of these file is described in the section Tutorial_-_Data
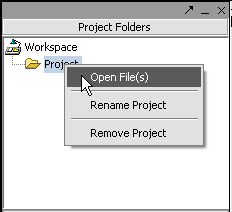
Next, right-click on the New Project entry and select Open Files.
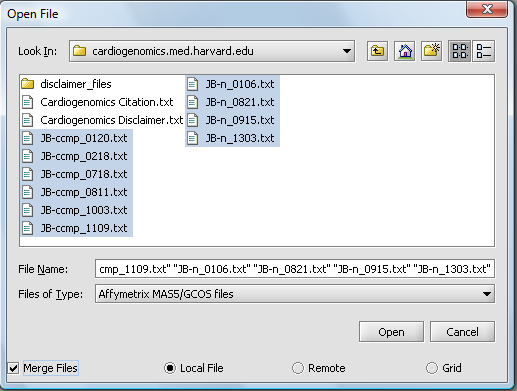
A file browser will appear with which you can select the files you wish to open. The default is to browse for local files, that is on your own computer. geWorkbench can also access data from caArray databases.
Here, we will select file type Affymetrix GCOS/MAS5 as shown.
Make sure to check the Merge files checkbox. This will create the merged data node as the files are read in.
We will select 10 MAS5 format text files from the directory cardiogenomics.med.harvard.edu, which is included in the geWorkbench tutorial download.
Click Open.
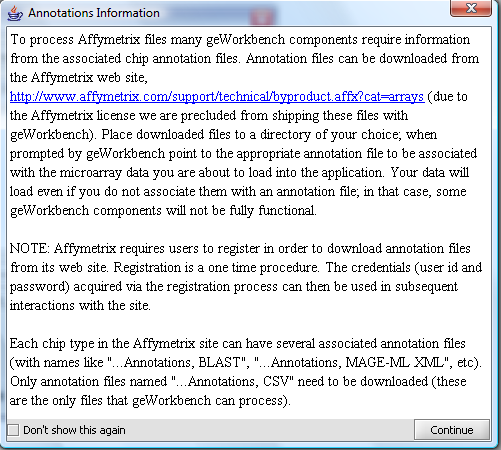
A message will appear giving information about associating an annotation file with the dataset.
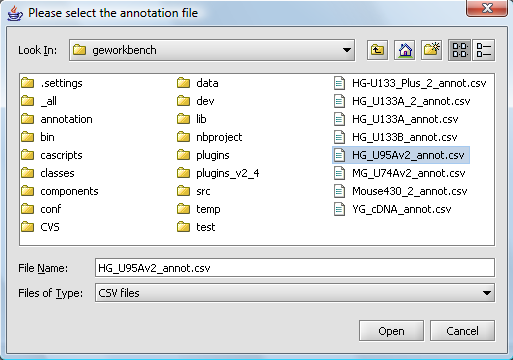
A file browser will then open with which you can, if you wish, select an annotation file matching your dataset. This is needed if you intend to use features of geWorkbench such as the Sequence Retriever or GO Terms component (Gene Ontology).
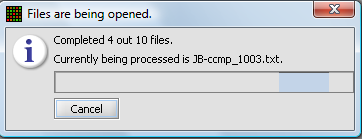
A status bar will display as the data is loaded:
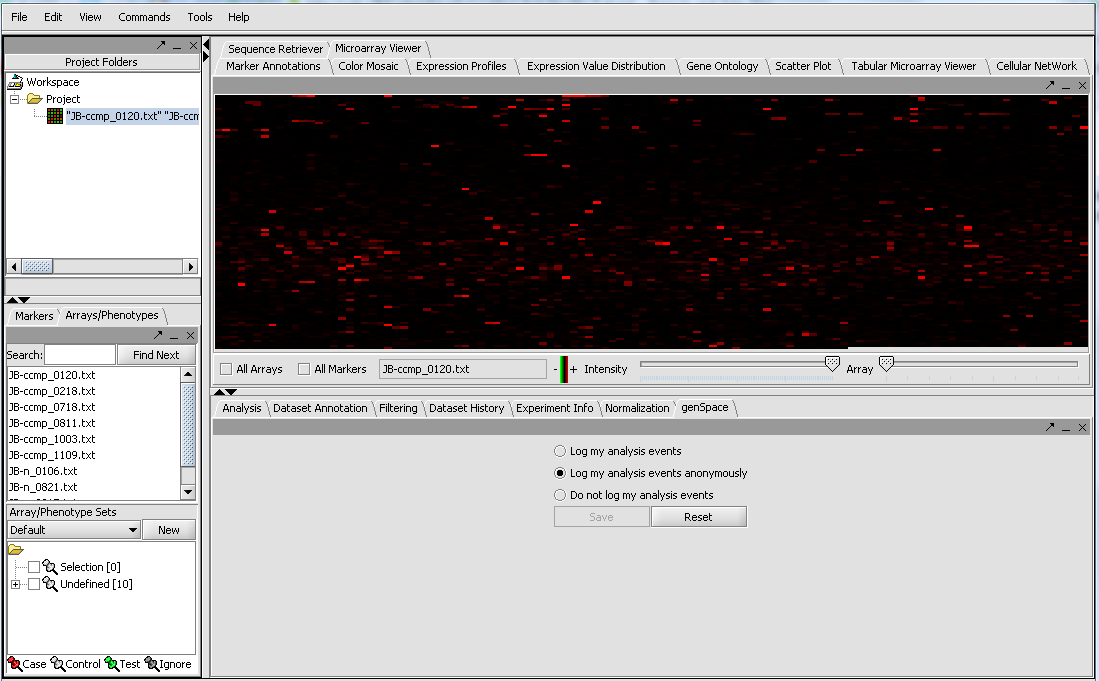
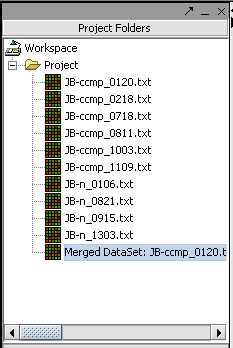
The merged dataset is listed in the Project folder. The data is displayed, in single array format, in the Microarray Viewer. Note we have increased the intensity slider to maximum here. You can scroll through the arrays from first to last using the slider. The display in the Microarray Viewer is by marker in the linear order the markers appear in the data file. It does not correspond in any way to a physical picture or representation of the actual 2-D microarray.
Tutorial: Merging microarray data files after they have already been loaded.
If data files are not merged at the time they are read in, they can also be merged later, as long as they are from the same chip type.
1. Select the read-in data files that you want to merge.
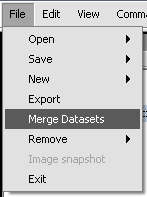
2. Click on File in the menu bar, and choose Merge Datasets.
The picture shows the resulting merged dataset created from several individual data files.
The result is a new data node containing the merged data. The original data nodes are still present.
Tutorial: Working with remote data sources
The remote Open File dialog
geWorkbench can retrieve data from certain remote data sources; currently only instances of the NCICB's caArray database are supported. The Open File dialog allows remote sources to be added to the list of those available either manually or through discovery using grid services. Entries (locations, parameters) for non-grid services can be edited.
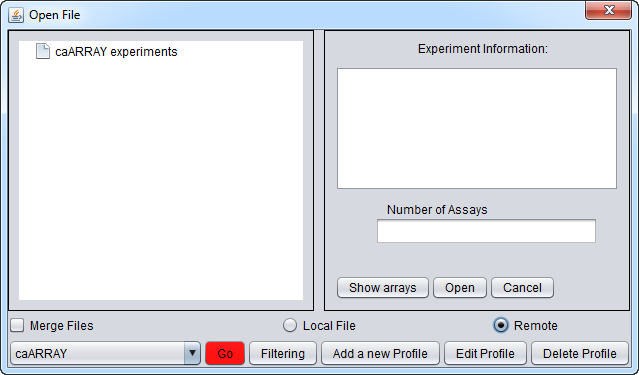
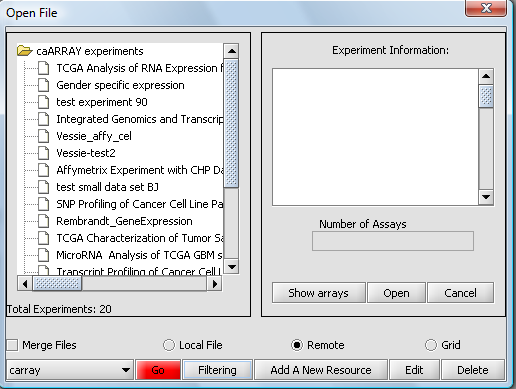
As before, right-click on Project which will bring up the Open File dialog. Click the Remote radio button. The Open File dialog window will be expanded to include remote sources.
Note the distinction between the "Open File" button, which opens a local or remote file, and the "Go" button, described below, which connects to a chosen remote resource to allow browsing.
They buttons at the bottom of the remote file dialog are:
Source button - lists remote resources.
Go button - downloads a list of all available experiments from the remote source.
Filtering - Allows one to see a list of particular types of experiements, such as by organism or chip type, on the remote source.
Add A New Resource button - Opens the Data Source Definition Page used to add a remote data source.
Edit button - Edits remote source parameters.
Loading data from a remote instance of caArray
geWorkbench can download data from instances of caArray. In the File->Open dialog, click the Remote setting.
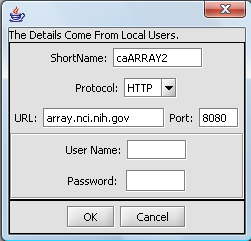
You can Add a New Resource or Edit existing connection settings to set up a connection to an instance of caArray. The configuration for connecting to the production instance of caArray at the NCI is shown here:
If you click on the red Go button next to the caArray data source at the bottom of the dialog, all available caArray experiments at that location will be displayed.
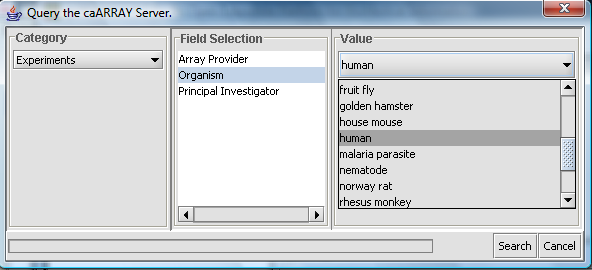
Instead, you can select only particular kinds of experiments by pushing the Filter button. Here we show experiments of type "Human" being selected.
And here are the resulting entries in the database:
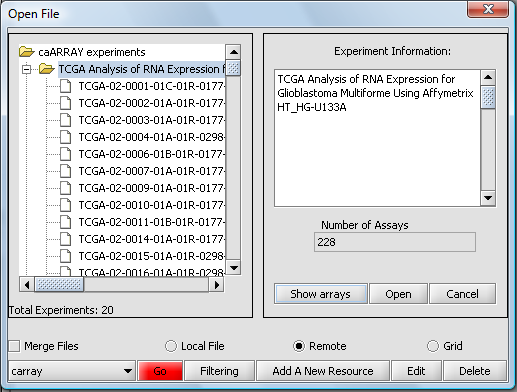
Select an experiment and push the Show Arrays button to see the individual array datasets available for download for this experiment.
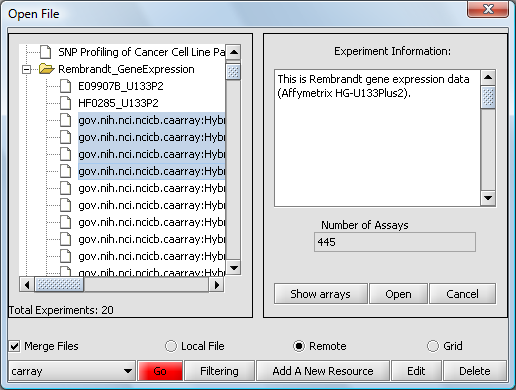
Now we will select four of the arrays and push the Open button to begin the download. Dont' forget to click the Merge button first if desired to merge the data into a single dataset.
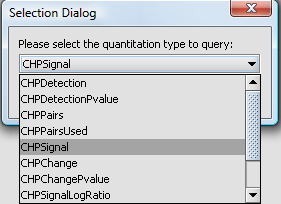
You will be prompted to select the quantitation type from those available for the experiment. Here we select CHP Signal:
The resulting data set will appear in the Project Folders component as shown previously
